Jess Wilkins Baby Photographer’s Guide to Photographing Your Newborn at home 2020
Jess Wilkins Baby Photographer’s Guide to Photographing Your Newborn at home
Photographing Your Newborn at home
I’m so sad that during these times I’m unable to photograph beautiful new babies but, I thought long and hard about how I can help new parents capture those moments from afar; with whatever camera and props you have available! As much as I love having families in my Norwich studio, I can’t bear the thought of families missing out when there are some simple ways to create a good photo from home.
These moments are fleeting so don’t think you can’t treasure them always because of the crisis we currently find ourselves in. You don’t need a DSLR, a simple smartphone camera can do a brilliant trick so, find below a series of tips, poses and ideas on how to set up some shots.
Don’t forget to share them with me on Instagram @jess_wilkins_photography – it will make my day to see how you are being creative with your at home shoots! As a baby photographer, I am trained to pose babies, please don’t attempt to re-create what you see on my website (and others) at home and always put baby safety first.
Safety – this is one of the most important points.
The safety and comfort of your baby is more important than any photo. Please do not attempt any poses that you see newborn photographers do. We are trained in newborn safety and posing, remember this is about what you can do at home, not how to recreate a studio perfect image.
Pets and siblings make for wonderful baby photography but should never be photographed without another adult right there to keep an eye (and hand!) on the baby.
It may seem obvious but if using a large camera and when you are taking photos above baby, always wear the camera strap around your neck.
Listen for baby’s cues. Your little one may start to tell you they have had enough. Pace yourself, you just had a baby and will need rest! If you need to break it up over a few days then do so.
Get ready – how to set the room and mood:
First off, know that your photos are not going to look the same as professional photos, and that’s ok! You are capturing some precious memories, and that is all that matters. Babies are energy-based and will pick up on your anxiety and frustration, so just relax and go with the flow. If it doesn’t go to plan, take a break and try later.
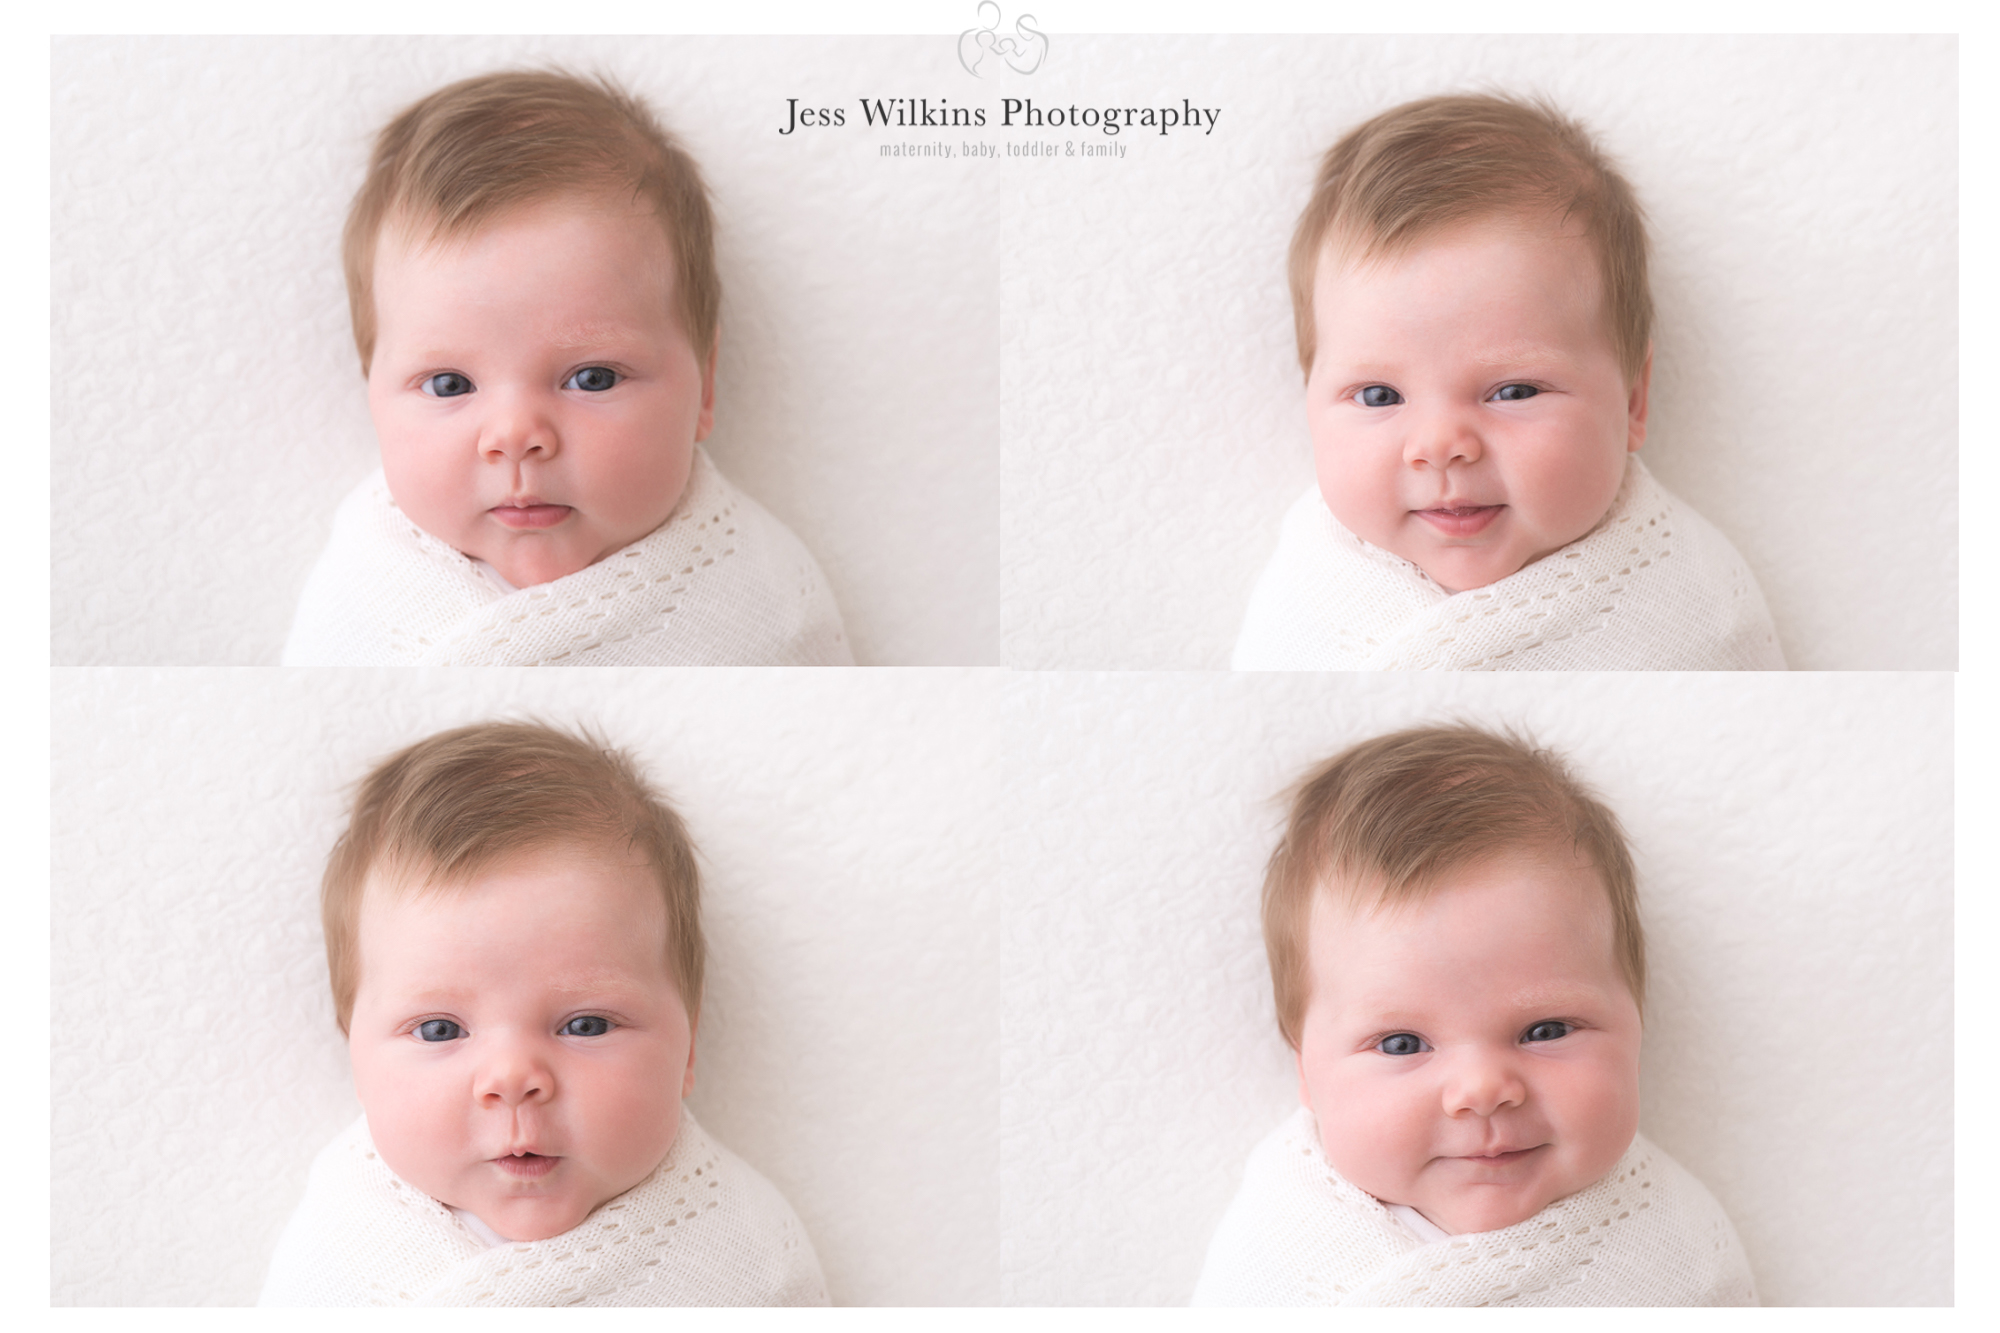
Turn up the thermostat so the room is warm, then give your baby a good feed, and be sure to burp them, so they are happy and sleepy! (But remember that awake baby images are beautiful too – the first smile, those scrunched up faces and altogether strange shapes they make).
Your baby will probably poop or pee if you take photos without a nappy on, so have supplies ready for quick clean ups – this is a common occurrence in the studio so don’t think this is just happening to you – I highly recommend Dr Beckamsn cleaning products!
I find white noise can really soothe a newborn during a shoot so that’s another option to create a calm room.
Some initial starting tips
- Spread a blanket, swaddle wrap, or sheet on the floor near a window. (neutral works well, greys whites and patterns such as arrows or polka dots)
- Position the baby with light coming from the side or top of the baby’s head.
- Take photos looking straight down – do not take photos up baby’s nose.

Equipment
Don’t worry if you don’t have a DSLR, any smart phones will work, first up clean your lens and secondly, (if you have it) try putting your phone on portrait mode to get some deep focus with a yummy blur. I tend to avoid props but you may want some lovely snuggly blankets/a sheepskin and a favourite teddy to nestle your baby with.
What to wear
To really capture your newborn I always recommend having the family wear comfortable, simple, neutral-coloured clothing. Stay away from logos, words, and characters on shirts, and neon colours. It can really help to have some colour coordination too… you can see some family shots HERE for inspiration.
Newborns photograph best in a simple white onesie – because really is there anything better?
You can add a little hat or headband for variety (but not one so big it takes the focus away from the baby!)
Lighting and position
Any photographer will tell you the trick to a good photo is the lighting, at home you can achieve great results with the following:
- Try to take your photos in the rooms that get the best gentle window light (not direct sunlight).
- North/south facing windows are great! If there’s enough window light, turn off your overhead lights.
- When positioning the baby close to the window, make sure the light is coming from the side or towards the top of the baby’s head – but remember not direct sunlight on your baby.

Editing
It’s always great to take lots of images so you can choose the best of the best. VSCO app is a great editing tool that you can use instantly as is Lightbox. With a little cropping, brightening and sharpening you can really enhance your already beautiful pictures.
You can get into super detail and purchase a pre-set package if there’s a certain ‘style’ you want to recreate.
Photo Check List and suggestions:
Sibling Images
- Spread a comfy blanket or rug close to a window. Tuck some rolled up
receiving blankets underneath to create a place for siblings to rest their heads.
- Have siblings lie down with the top of their head angled towards the window.
- Place wrapped baby right up close to sibling, with baby’s head
supported by sibling’s arm/s.
- Ask the sibling to place their other arm on the baby’s tummy or somehow connect.
- Take your photo standing over them, looking straight down.
Parent and Baby images
- Place the parent sitting or standing so window light comes from the side.
- Try to always angle the top of the baby’s head towards the window.
- Hold baby in different ways: lying in arms, held face to face, up on
shoulder, facing out, etc.
- For each position, take photos from different angles – straight on, from
side, from behind over parent’s shoulder, etc.
Whole Family Images
- Position your family members with window light coming from the
side – on a couch, or even on the floor of the nursery.Make sure you
leave a spot for you to sit or stand
- Use a tripod if you have one, or simply set up your camera/phone
against something sturdy, getting the whole family in the frame.
- Activate the timer (10 seconds), and run to get into your assigned
position with your family. Smile!
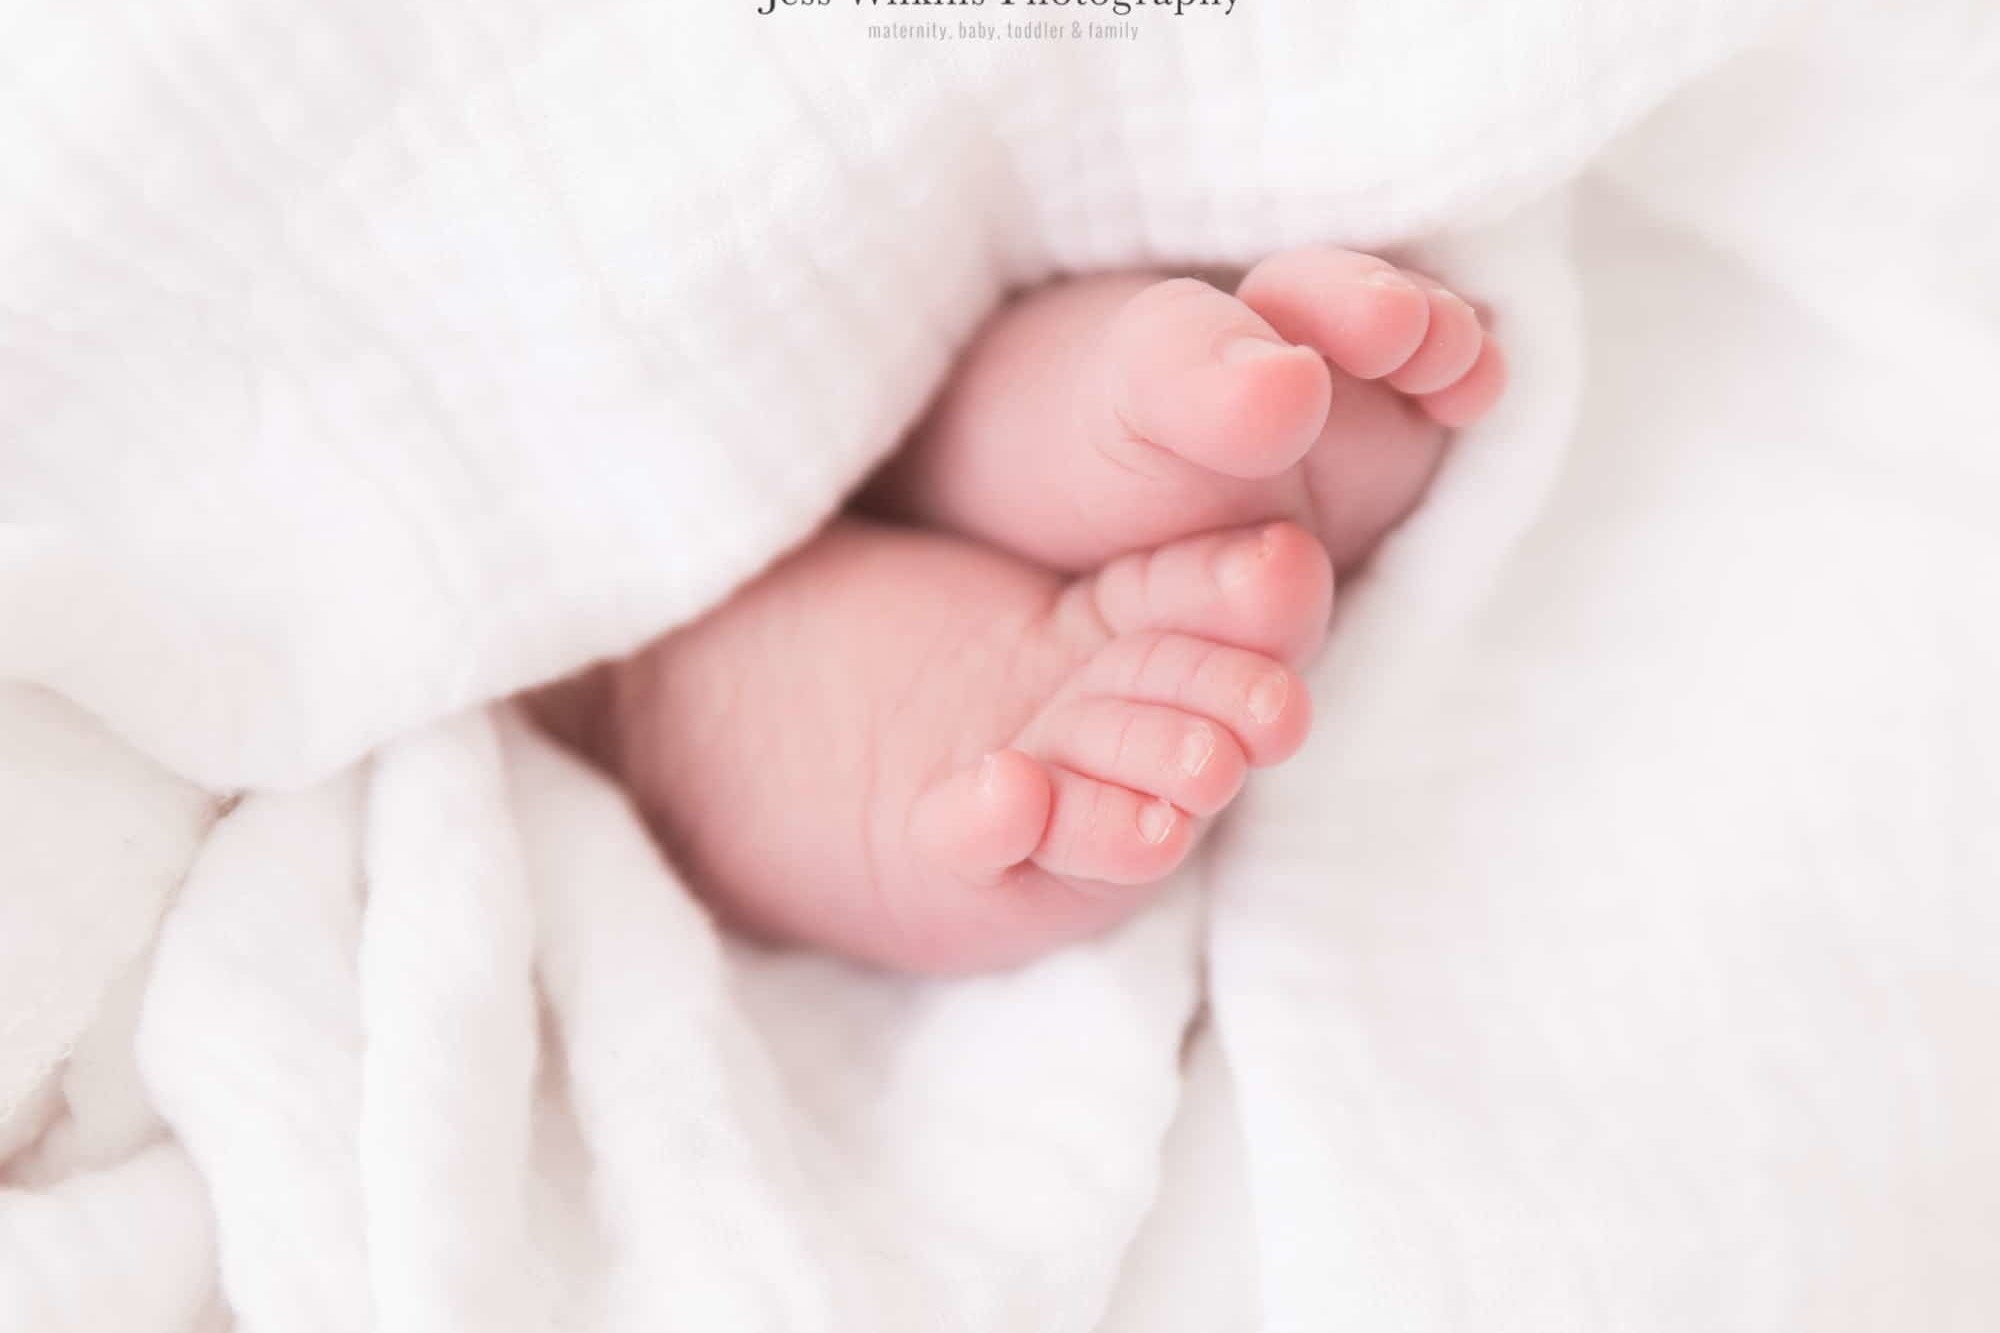
Capturing the details
- Lie the baby down on a simple white or neutral coloured blanket or
sheet, close to a window.
- Focus on just one body part at time, and make the whole photo
just about that body part.
- Take photos of your baby’s hands and fingers, feet and toes, nose,
lips, belly button, and wisps of hair. Most importantly don’t forget the little rolls and
flaky skin.
Please don’t hesitate to contact me if you want any further help or information. For anyone expecting later in the year I will be offering vouchers for newborn shoots.
For your own downable guide to photographing your newborn at home please click here for the free guide.
If you’re looking for a Newborn, Maternity, Cake Smash or Family Photographer. Then find out more by clicking the button below.